How Does Paint Correction Work? A Comprehensive Guide to the Process
If you've ever looked at your car and wondered what happened to that fresh, glossy finish, you’re not alone. Over time, vehicles can develop a dull or scratched appearance due to factors like sun exposure, washing mistakes, and pesky contaminants. It’s easy to ignore these issues until your car looks more like a faded relic than a cherished ride. But here’s the good news: paint correction is here to help! This process not only restores shine but also protects your investment. Think of it as giving your car a new lease on life—revamping its aesthetic while preserving its value for years to come.
Paint correction is a meticulous detailing process that removes imperfections from a vehicle's surface, such as swirl marks and scratches, through a multi-step approach. This involves thorough washing, inspection under specific lighting, compounding to address severe defects, polishing for refinement, and finally applying protective coatings to enhance and maintain the vehicle's appearance.
Introduction to Paint Correction
Paint correction is much more than just a cleaning process; it is an intricate art form that revitalizes your vehicle's surface. As you explore this engaging world, you'll discover how removing pesky imperfections can breathe new life into your car's appearance. Imagine standing next to your vehicle, seeing the deep reflective shine, and watching the colors pop as if they are brand new again. That's what paint correction achieves—it removes everything from swirl marks to light scratches, creating a flawless finish that feels like a rejuvenation for your car.
Think of the process as meticulous rejuvenation rather than mere maintenance. It’s akin to giving your car a spa day; instead of treating skin, we focus on the vehicle's exterior. This procedure targets swirl marks from improper washing techniques and light scratches that accumulate over time. Oxidation, resulting from prolonged exposure to elements such as sun and rain, dulls vibrant color and shine. Water spots further mar the surface after each wash, and etching from bird droppings or bug splatter can ruin the beautiful finish you once admired.
The reality is that these seemingly minor imperfections can affect not only the appearance of your vehicle but also its value. A well-corrected paint job doesn’t just look good; it preserves the integrity of your investment. When potential buyers see that flawless exterior, they are often willing to pay more because it reflects care and attention. The paint correction process itself involves several essential steps that contribute to achieving remarkable results. Each phase builds on the last, ensuring that your vehicle ends up looking absolutely pristine and protected against future damage.
Essential Equipment and Tools
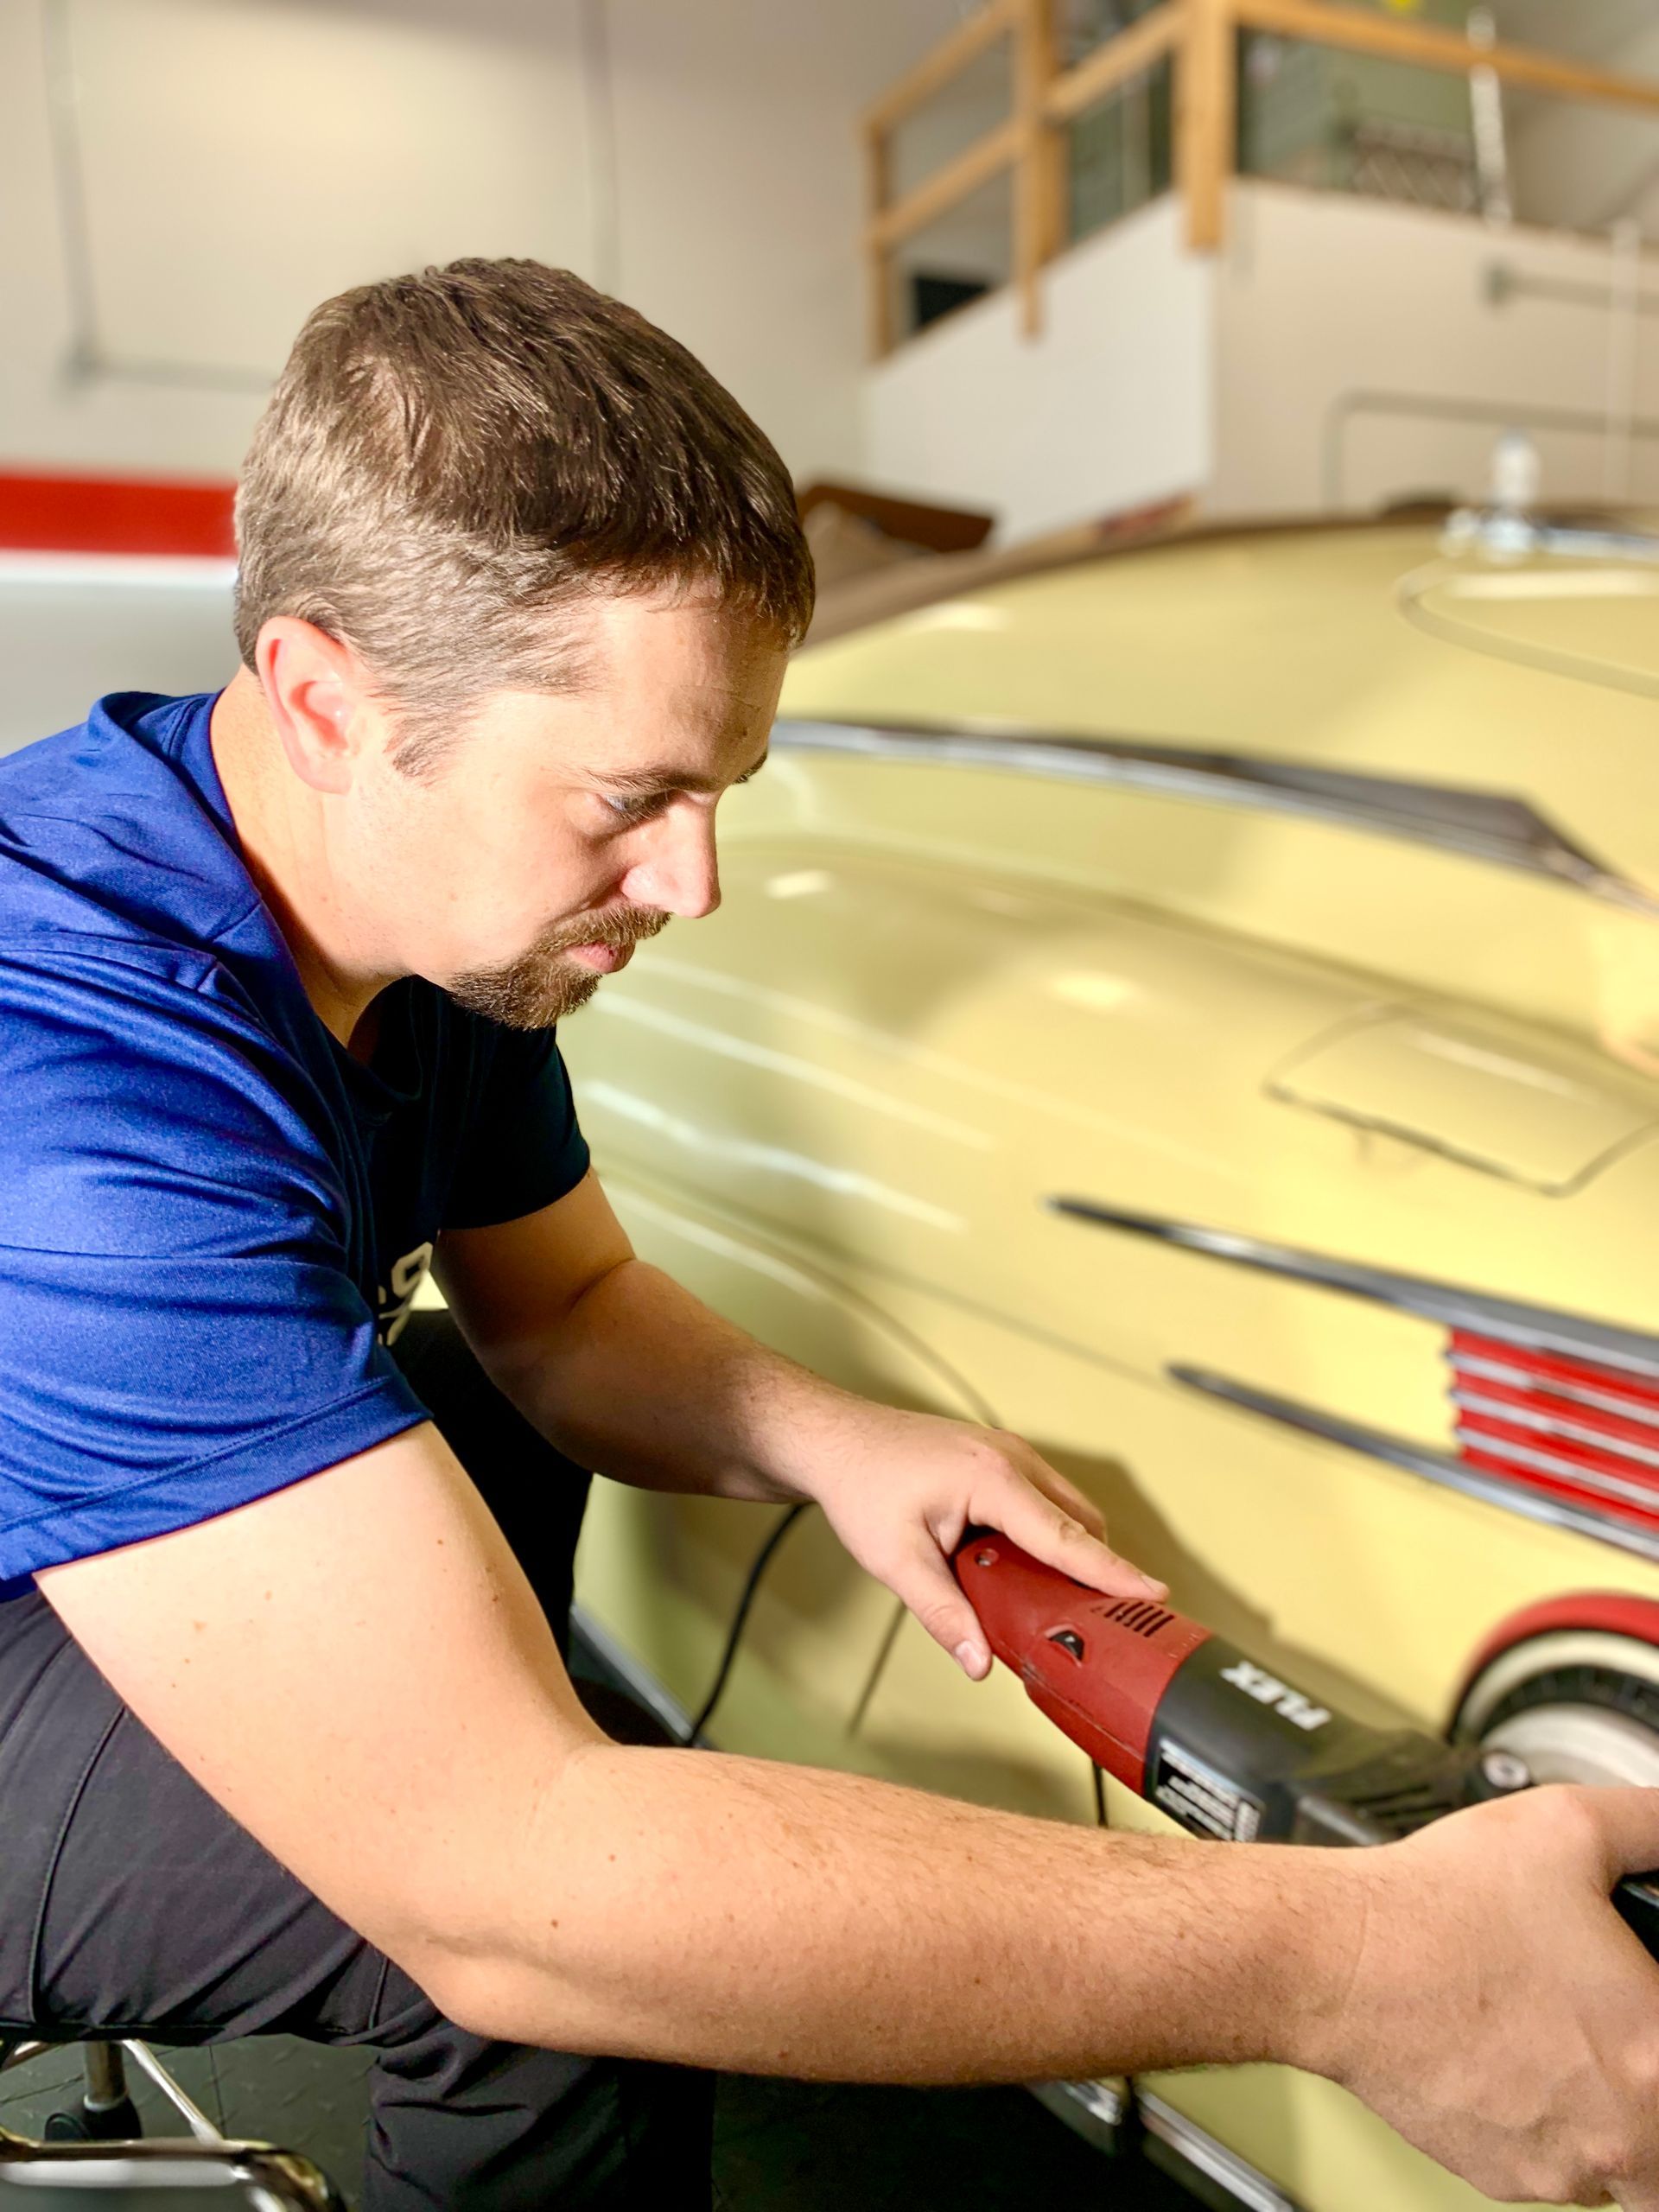
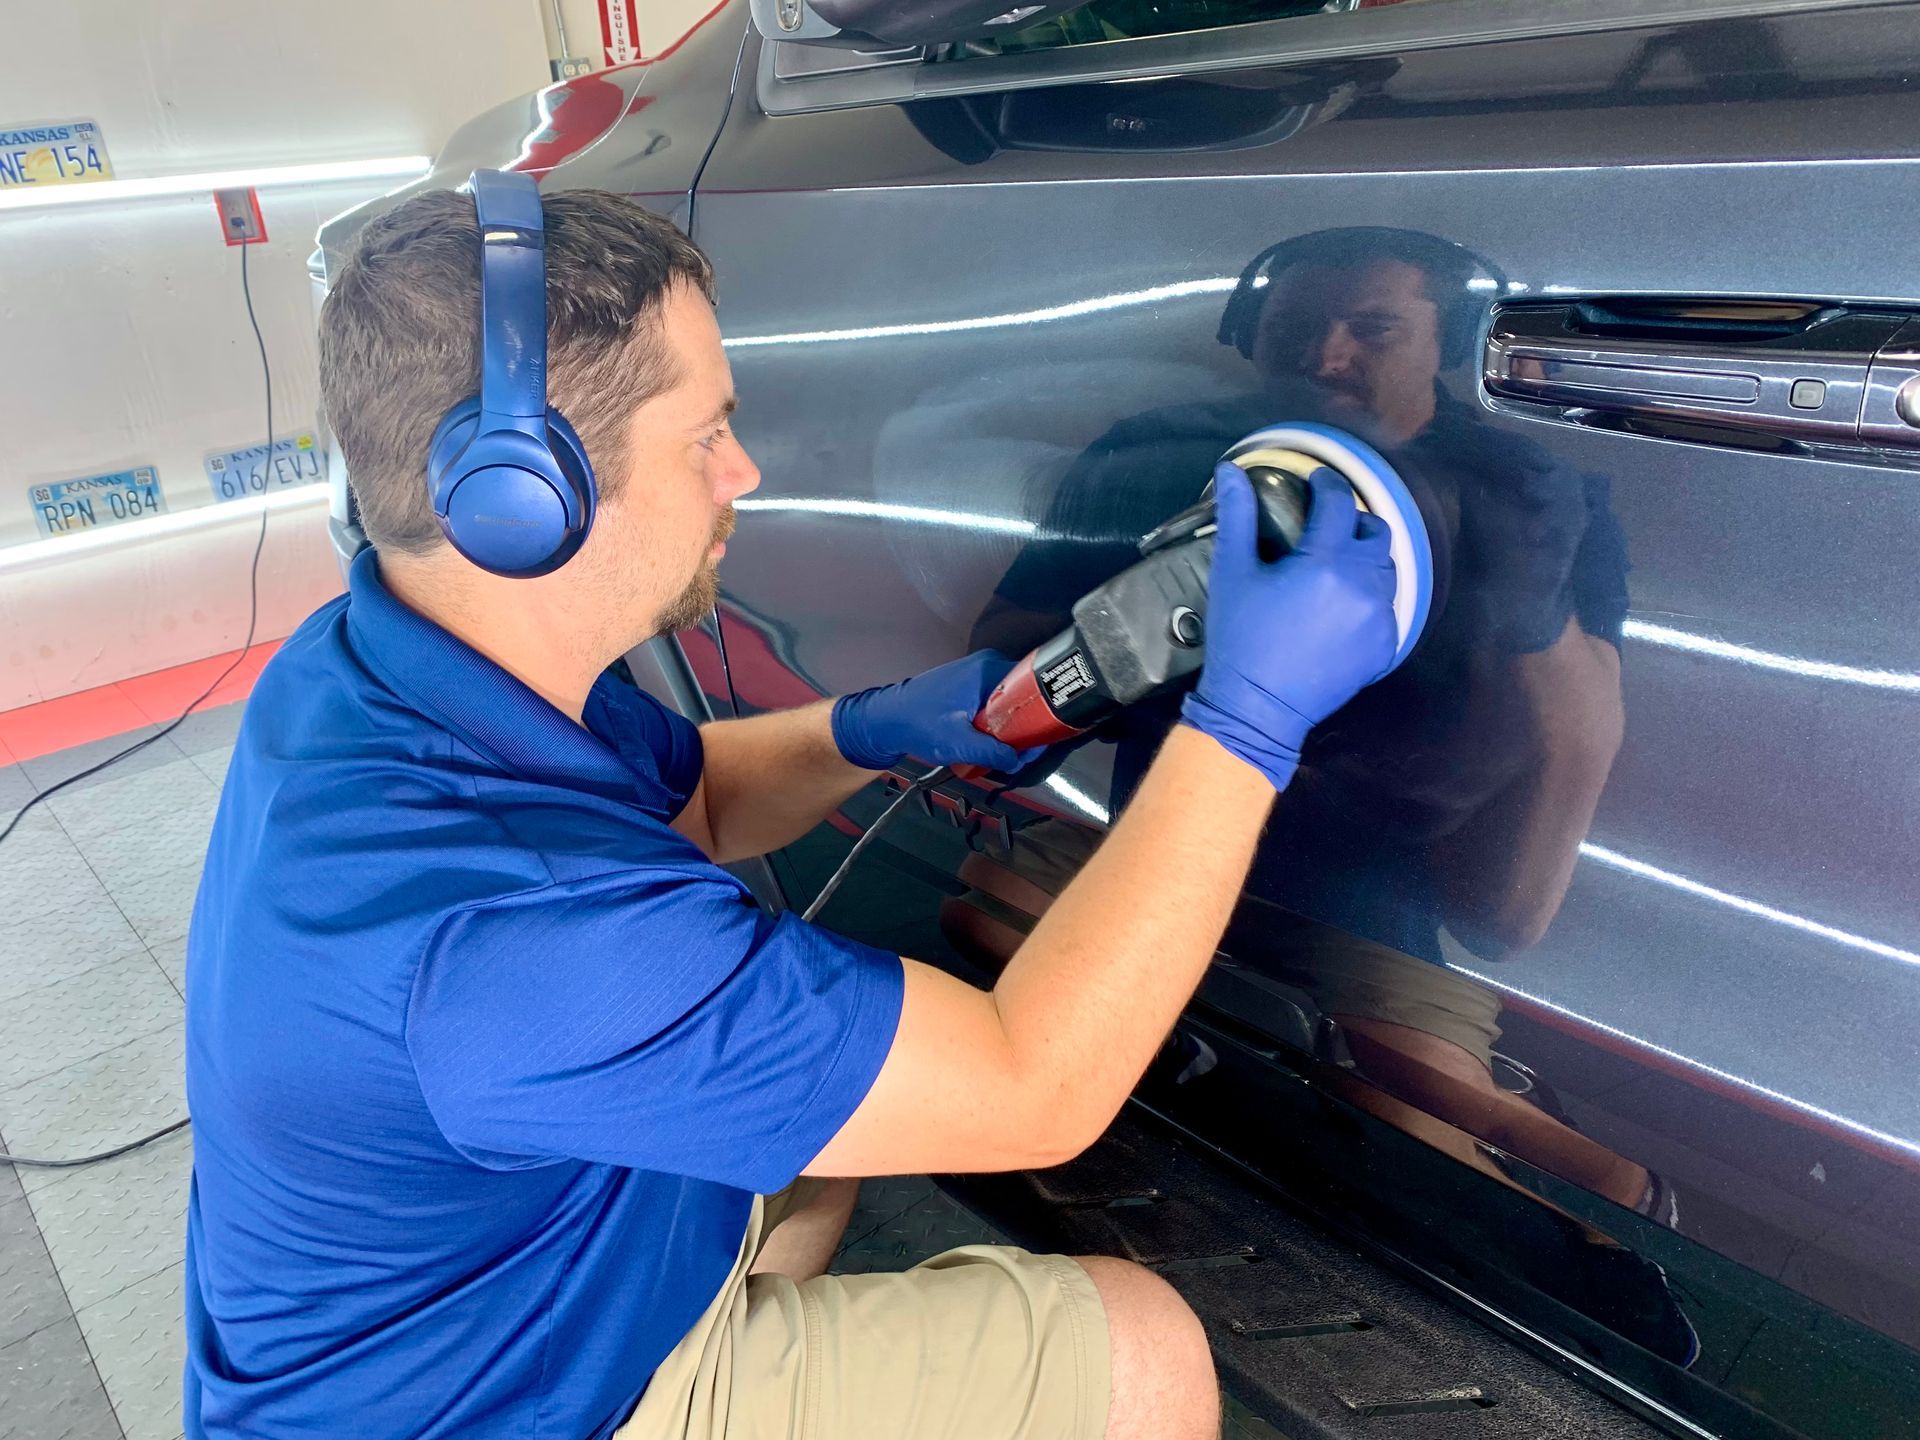
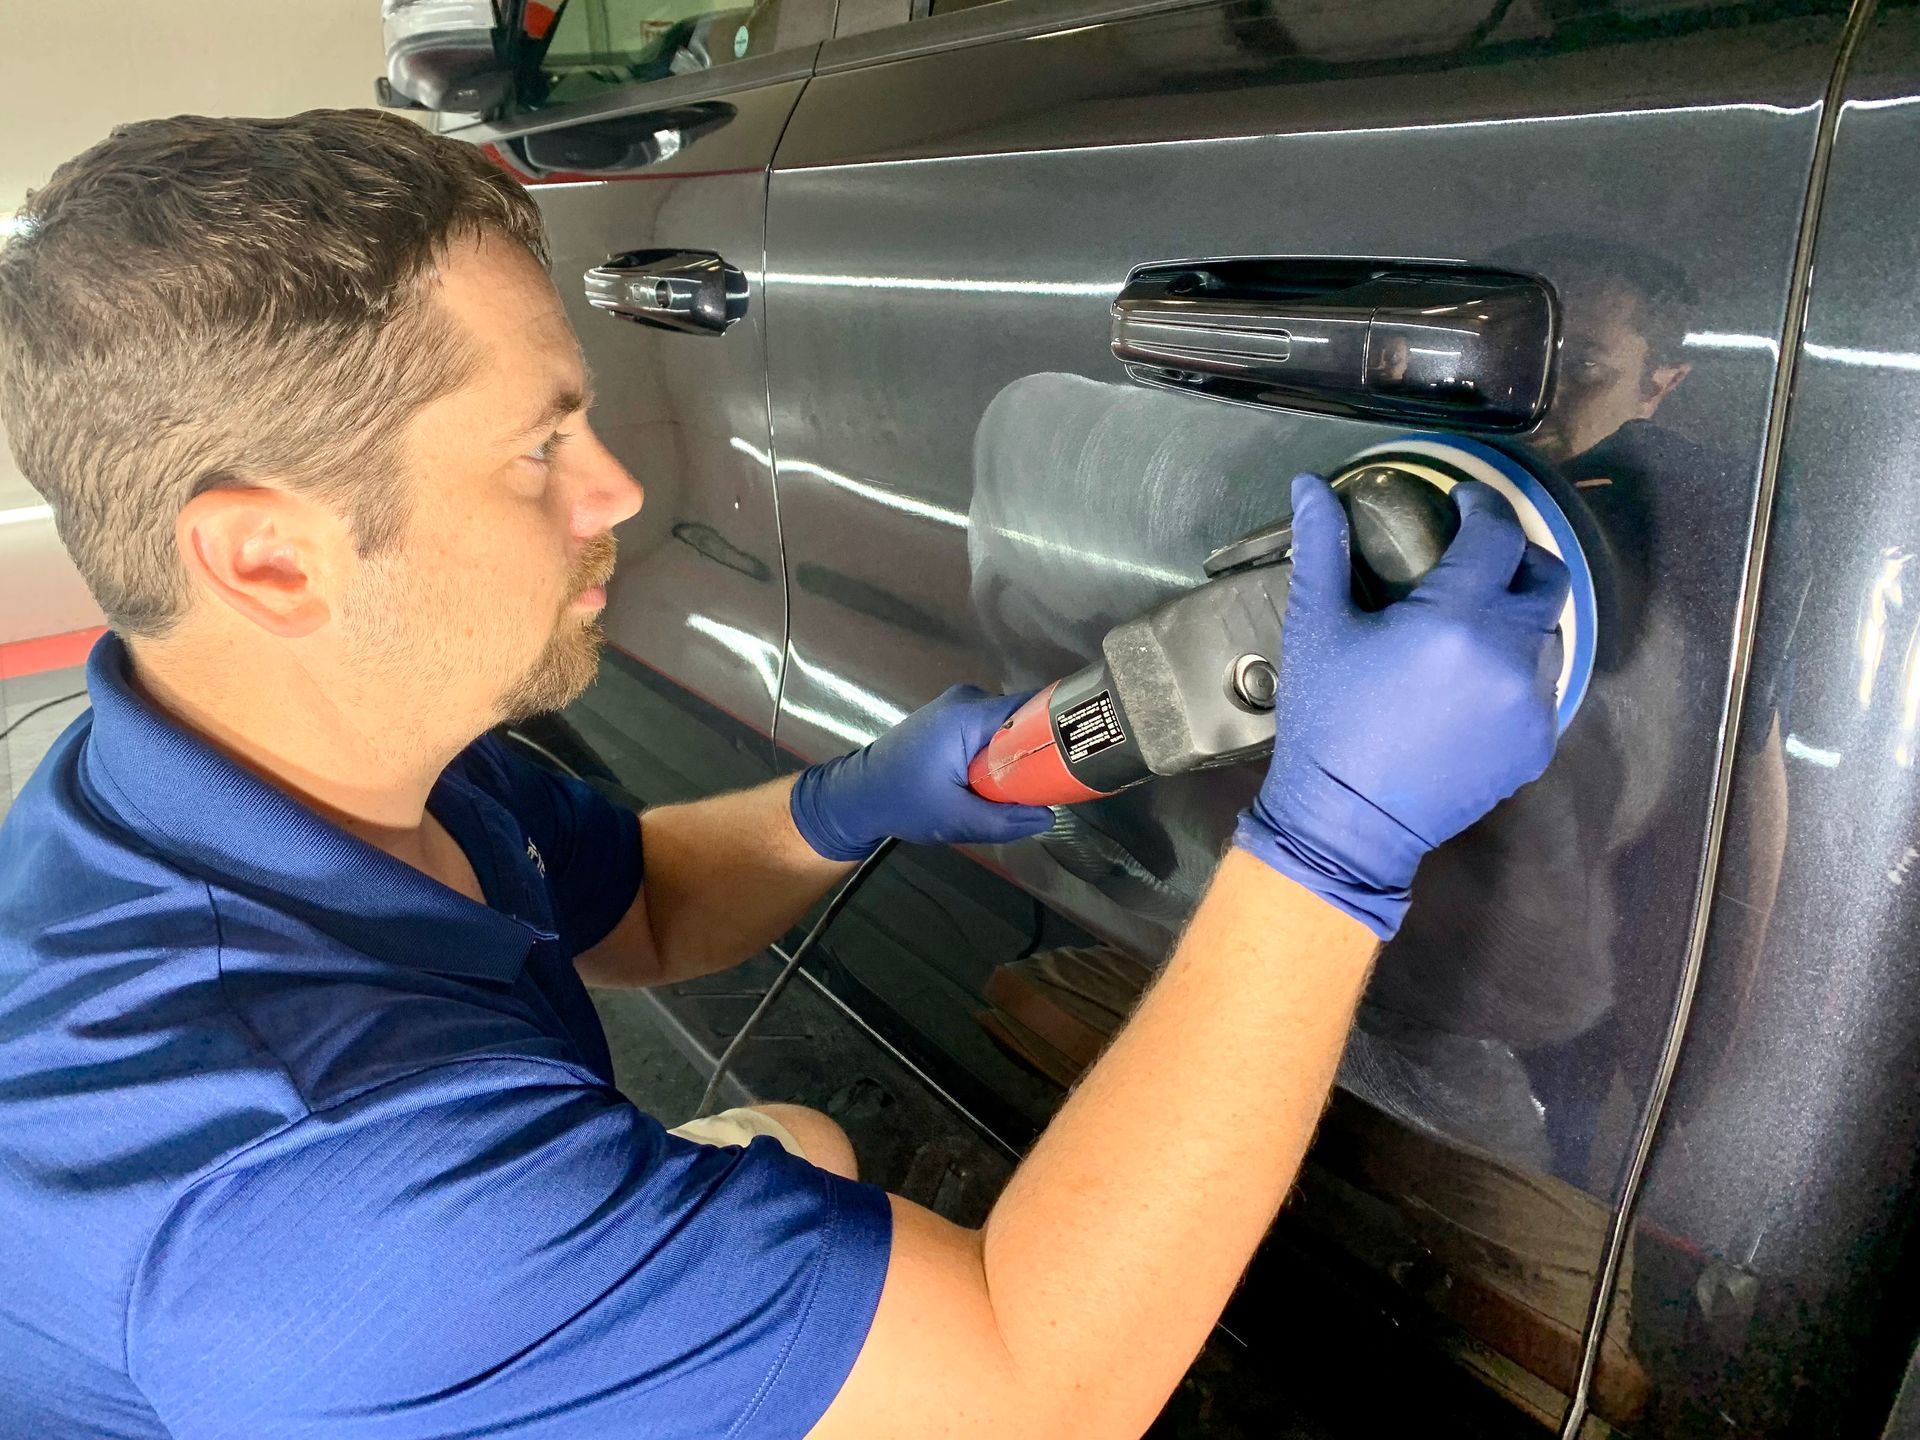
To embark on a successful paint correction journey, selecting quality tools and products is paramount. Each piece of equipment serves a specific purpose, helping to ensure that not only are you addressing imperfections effectively but you're also protecting the integrity of your vehicle's finish. Among the most vital tools, a dual-action polisher stands out; it’s like the Swiss Army knife of detailing, offering versatility without the risk of damaging your paint. Investing in a reliable dual-action polisher can make all the difference in performing deep corrections while maintaining safety.
- Polisher Types: Many professionals gravitate toward dual-action polishers because they strike an excellent balance between efficiency and safety. Unlike rotary polishers, which can create heat and potentially burn through the paint if not used carefully, dual-action polishers work in two ways: rotating and oscillating. This combination allows them to distribute pressure evenly across the surface and reduces the risk of swirl marks or burn-throughs. Consequently, they're perfect for everyone, from beginners to seasoned detailers seeking consistent results without unnecessary risks.
- Polishing Pads: To maximize your results with a polisher, you’ll need various polishing pads tailored to different stages of correction. The cutting pads are designed for heavy corrections and are typically much coarser, making them ideal for removing deeper scratches or oxidation. Moving on to polishing pads—these are smoother and focus on refining the surface after using a cutting pad. Finally, finishing pads take your vehicle’s appearance to the next level by adding that glossy shine at the end of the process.
- Compounds and Polishes:
In addition to your trusty polisher and pads, selecting quality compounds and polishes is essential. High-quality compounds are excellent choices due to their cutting power; they will swiftly tackle those stubborn surface imperfections. Once you've laid down some serious corrections with a compound, you'll transition to using polishes like Sonax Perfect Finish or 3D Speed. These products excel at refining the surface even further while enhancing glossiness, ultimately resulting in a stunning finish.
Equipped with this essential toolkit, you're now ready to tackle the intricate processes involved in correcting your vehicle's paint finish effectively.

Detailed Steps of Paint Correction
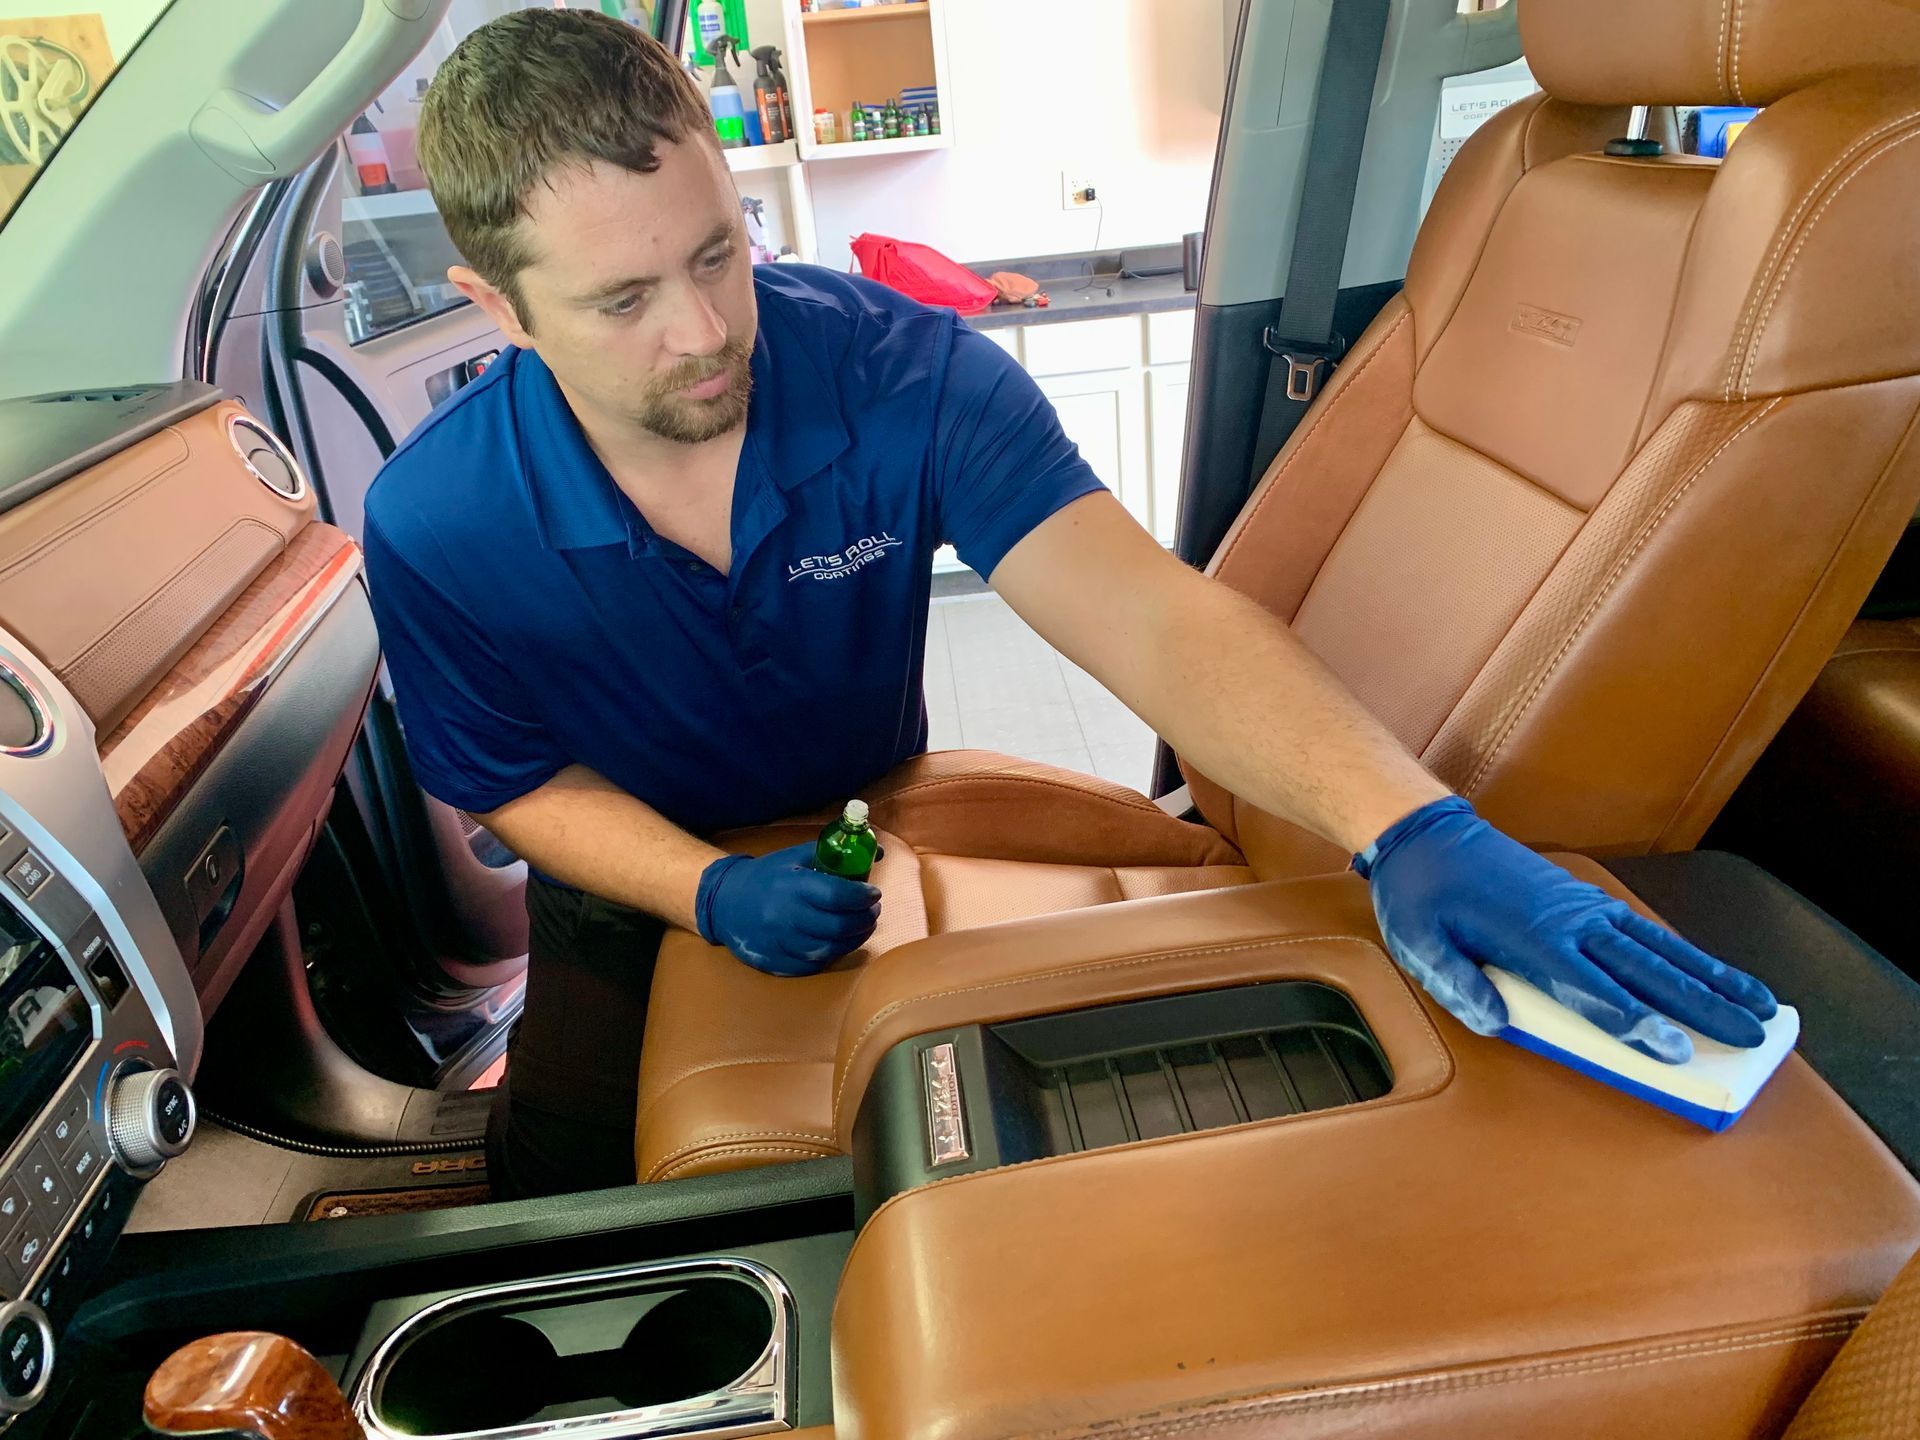
- Washing and Decontamination. It's vital to start this process with a thorough wash, ideally using the two-bucket method. This technique separates soap and rinse water, preventing dirt from reintroducing scratches onto polished surfaces. Once the surface is clean, it's time for decontamination; using a clay bar works wonders in removing embedded grime and contaminants that regular washing can't reach. Imagine the clay bar as an eraser for your paint—every glide along the surface takes away deeply set dirt particles.
- Paint Inspection: During this crucial inspection phase, utilize specialized lighting to illuminate imperfections otherwise invisible under standard light conditions. As you examine the paintwork closely, mark areas showing signs of damage such as swirls, scratches, or oxidation; these visual cues will guide your efforts in subsequent steps. This proactive examination creates a roadmap for focused attention later on.
- Masking: Proper masking cannot be overlooked here—it's vital to protect sensitive areas like trims and badges with high-quality masking tape. Think of this step as putting on protective gear before diving into a project; it shields components that may inadvertently get damaged during the correction process. A well-prepared workspace reflects a conscientious effort towards careful correction and maintenance.
- Compounding: When selecting your compound, opt for a heavy-cut formula paired with an appropriate cutting pad tailored for major flaws. Working in small sections ensures you concentrate the tool's effectiveness without skipping patches that still require attention. The right technique involves applying consistent pressure while keeping your polisher moving at a steady pace.
- Polishing: In this phase, transition to using a finer polish alongside a softer polishing pad to remove light scratches and enhance gloss. It’s akin to putting down an intricate layer atop a foundational coat—the goal is depth and clarity. Take your time here; careful polishing can elevate the overall aesthetic of your vehicle dramatically, making it shine like never before.
- Finishing: This step employs finishing polish combined with even finer pads to achieve final shine and luster. Here’s where magic happens—this critical phase brings out vibrancy and enhances depth within the paintwork. Much like final touches on an artwork, it makes all your hard work worthwhile as you see the rich colors pop against the previously dull appearance.
- Sealing or Coating.: For ultimate protection after correction, apply a superior sealant or ceramic coating designed explicitly for vehicle surfaces. Not only does this final touch create an impenetrable shield against future contaminants but it also seals that coveted gloss you’ve labored to achieve. Maintenance becomes significantly easier post-coating; less frequent washes help preserve that polished look while extending the vehicle's lifespan effectively.
By embracing each of these detailed steps with care and precision, you're not just correcting paint imperfections but actively contributing to the long-term beauty and value of your vehicle.
Common Mistakes to Avoid
- Failing to Clean the Vehicle:
One of the most frequently overlooked aspects of paint correction is thoroughly cleaning the vehicle before you even begin. Failing to do this can lead to leftover dirt and debris becoming trapped under your polishing pads. During correction, these contaminants can scratch the surface, completely undermining your intention of restoring a flawless finish. Taking the time to wash your vehicle using the two-bucket method ensures that both soap and water remain clean, significantly decreasing the chance of inadvertently introducing new imperfections.
- Overworking an Area: It’s crucial to maintain a constant motion with your polisher. Overworking an area can lead to severe issues like burning through the clear coat. Imagine that moment when you've spent hours perfecting your car's paint only to discover a patch where the clear has thinned out because you lingered too long. Keep your polisher moving at all times, adopting circular or back-and-forth motions and working in smaller sections to evenly distribute pressure and avoid damage.
- Skipping Inspection: Another significant mistake is skipping the inspection phase after washing but before applying any compounds or polishes. This step is essential since it allows you to identify deeper imperfections lurking beneath the surface that require targeted attention. Utilize proper lighting—like LED work lights—to illuminate swirls, scratches, and oxidation clearly. If it looks good under average light but reveals flaws under brighter conditions, you'll miss critical areas that demand correction.
- Inadequate Protection: Lastly, many make the mistake of neglecting protective measures after successfully finishing the paint correction. Failing to apply a sealant or protective coating can quickly undo all your hard work, leaving your vehicle vulnerable to environmental damage like UV rays and bird droppings that create etching over time. Always complete your process with a quality sealant or wax.
By keeping these common pitfalls in mind and recognizing their potential impact on paint correction outcomes, you position yourself to elevate not just the process but also the durability of your vehicle's finish as we explore further into what makes these techniques worthwhile.
Benefits and Drawbacks
Benefits of Paint Correction
One of the most compelling benefits of paint correction is the transformation it provides—imagine your vehicle looking as if it just rolled off the showroom floor. This restoration process removes surface imperfections such as swirl marks and light scratches, allowing the true color and depth of the paint to shine through. Furthermore, maintaining a flawless finish not only enhances your car's aesthetics but also increases its resale value. In fact, vehicles with well-maintained paint can command up to 10% more on the used market. This means that not only do you get to enjoy a better-looking car, but you also stand to gain financially when it's time to sell or trade it in. However, while the results can be dazzling, it’s crucial to consider what it takes to achieve them.
Drawbacks of Paint Correction
On the flip side, paint correction is not without its challenges. The process can be quite time-consuming; it often takes several hours to achieve optimal results—especially if you're doing it yourself. Professionals can charge between $500 and $2000, depending on how extensive the correction is that your vehicle requires. While opting for DIY may seem like an attractive alternative, remember that it requires a significant investment in specialized tools and high-quality products. Moreover, tackling paint correction without proper knowledge can lead to mistakes that might damage your paint instead of restoring it. For instance, using the wrong pad or compound could inadvertently create deeper scratches or even burn through the clear coat.
Maintenance Tips for Longevity
Maintaining your corrected paint is crucial for preserving its pristine condition. After investing time and effort in paint correction, it's vital to adopt a consistent maintenance routine that safeguards your vehicle against wear and tear. Regular care not only helps sustain the fresh look of your vehicle but also protects your investment from premature degradation.
- Regular Washing: One of the most fundamental steps in car maintenance is regular washing. Use a pH-neutral shampoo along with microfiber mitts; these tools help avoid introducing new scratches or imperfections. Ensure you follow the two-bucket washing method: one bucket for soapy water and another for rinsing your mitt. This avoids transferring dirt back onto the surface. It’s essential to avoid automated car washes, which often employ rough brushes that can create swirl marks, undoing all your hard work.
- Application of Protective Coatings: In addition to washing, consider applying a high-quality wax or sealant every few months to reinforce the protective layer over the paint. These products provide surfaces with an extra shield against environmental contaminants and UV rays. For optimal protection, explore ceramic coatings, which bond with the paint to create a durable barrier capable of lasting up to five years, offering superior resistance against scratches, chemicals, and fading.
- Spot Cleaning: Acting quickly on issues such as bird droppings, bug splatter, or tree sap is critical in preserving your vehicle's appearance. These contaminants can etch into the paint if left unattended. Keep a quick detailer spray and microfiber cloth handy in your car for immediate touch-ups when needed. A simple spray followed by a light buff can eliminate these nasty surprises before they leave their mark.
- Maintain a Clean Environment: Finally, storing your vehicle in a garage whenever possible significantly minimizes exposure to harmful elements like UV rays, acid rain, and environmental pollutants. A clean environment prolongs the life of your paint correction by preventing unnecessary damage from harsh conditions. Consider investing in a breathable car cover if you must park outside—it’s like providing a protective blanket for your beloved ride.
By integrating these maintenance tips into your routine, you will not only enhance the lifespan of your paint correction but also ensure that your vehicle continues to turn heads with its stunning finish. Prioritizing proper care and upkeep can make all the difference in keeping your vehicle looking showroom-fresh for years to come. With attention to detail and consistent maintenance practices, you'll preserve the beauty and value of your investment.
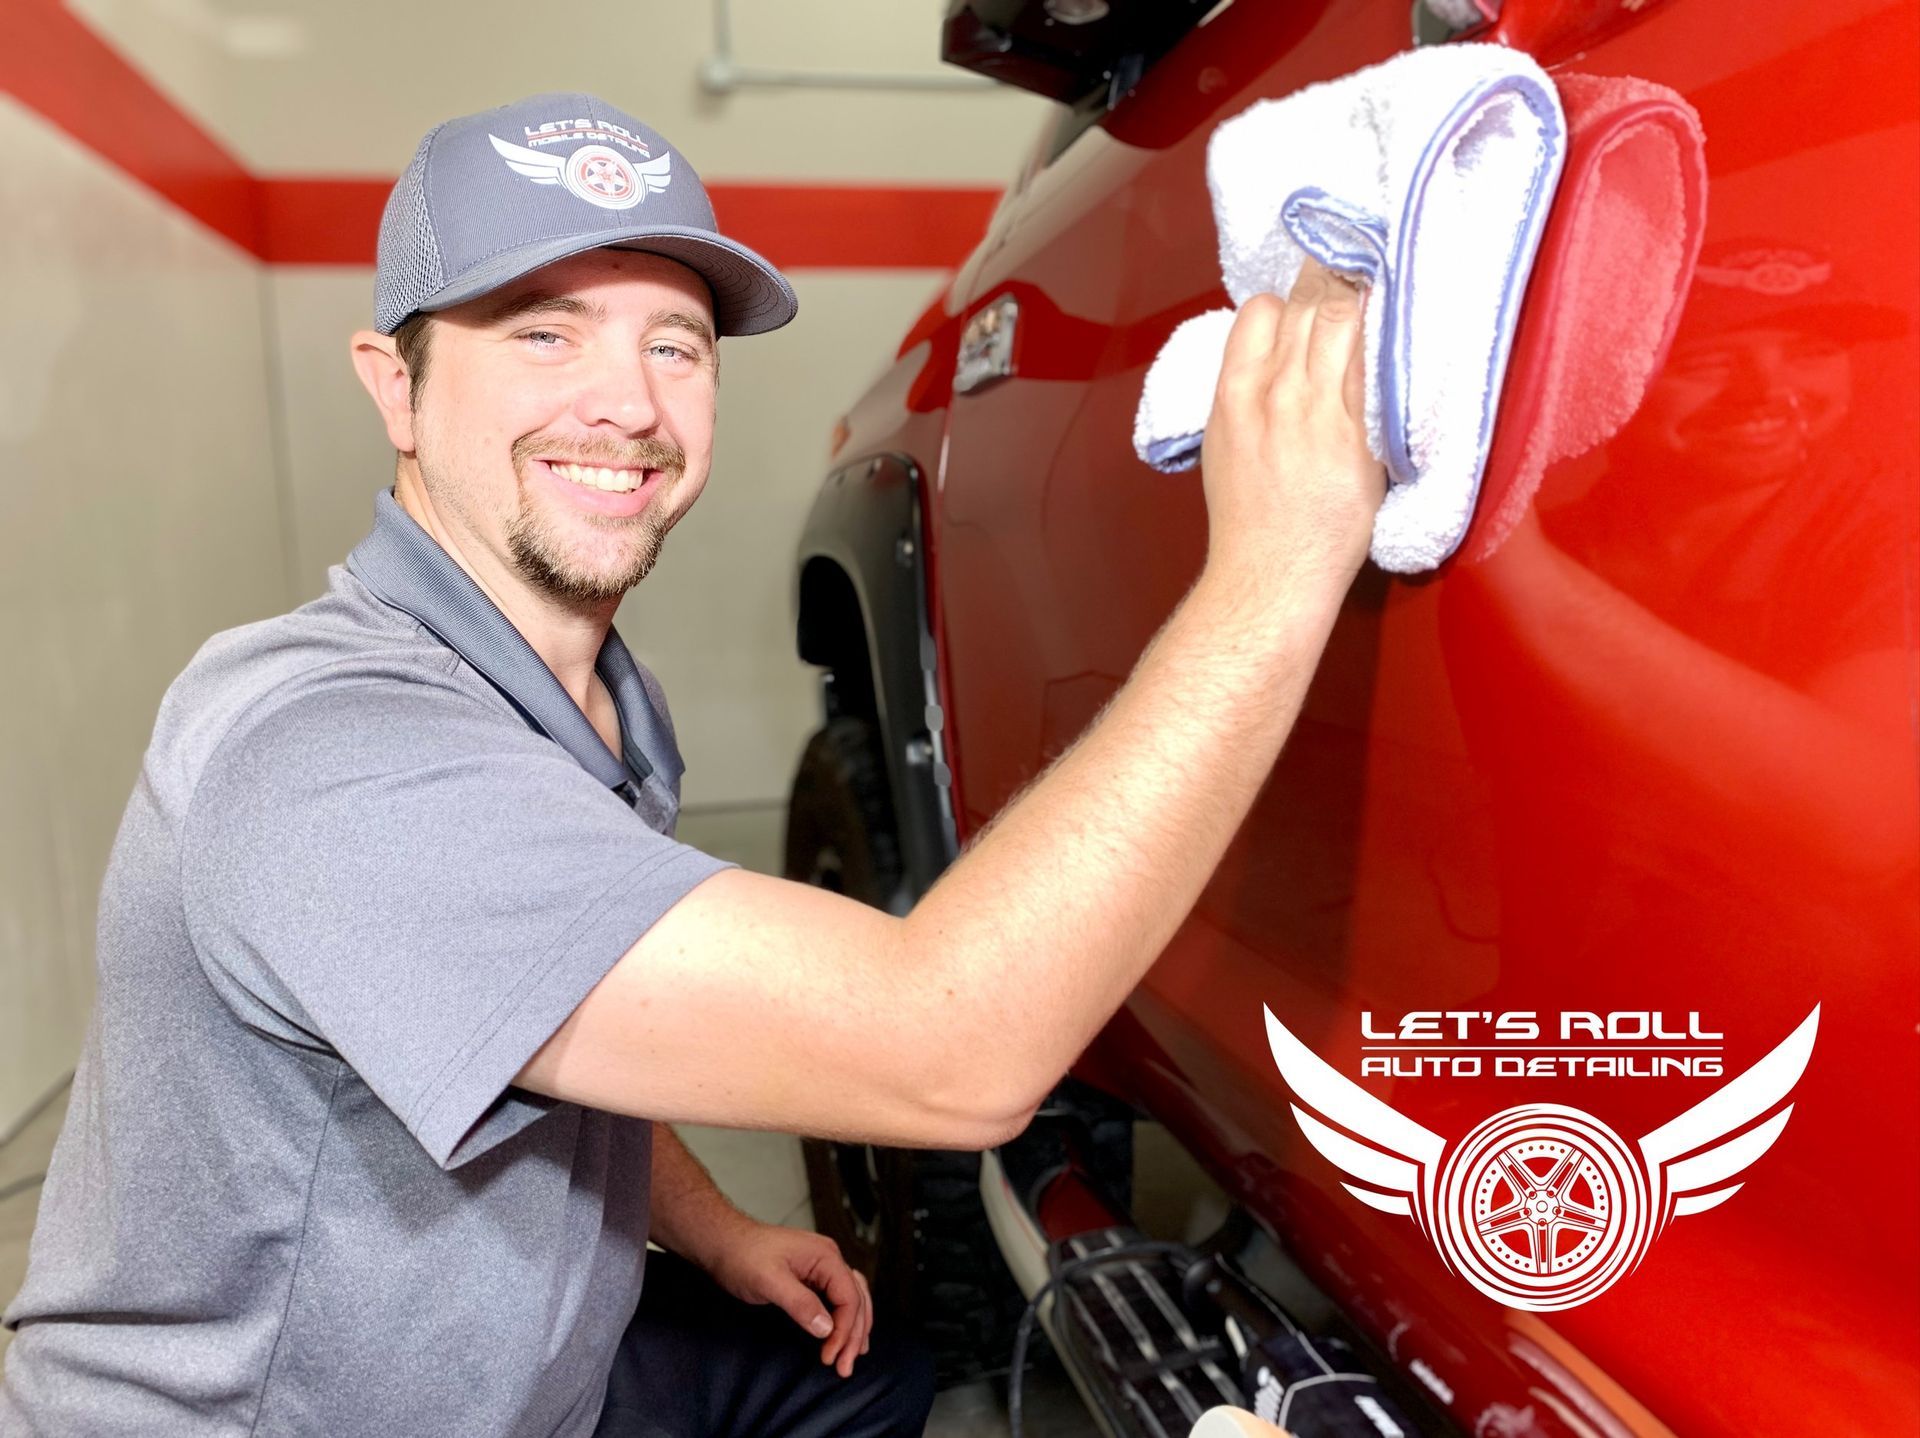
Achieve a Flawless Finish with Expert Paint Correction in Wichita, KS
At Let's Roll Coatings, we specialize in restoring your vehicle's paint to its original brilliance with our
top-tier paint correction services in Wichita, KS. Whether it's swirl marks, scratches, or oxidation, our skilled technicians use advanced techniques and products to refine and perfect your car’s finish. Trust us to bring out the best in your vehicle’s appearance, enhancing its depth and gloss. Get in touch today and let us transform your vehicle’s paint into a flawless, showroom-quality surface! Call us at (316) 295-0787 to get started!